
When you connect Apple TV to any display, it tries to detect and automatically choose the correct resolution. If this fails, you might be stuck with less than ideal image quality. Here’s how to quickly change the display screen resolution of your Apple TV.
The first thing to do is to check the optimal resolution of your screen. This will usually be mentioned in the product listing on the screen manufacturer’s website. If it’s not there, it will be mentioned on the box the screen was shipped with. In some cases, once you connect it, the screen will show an on-screen dialog with the correct resolution.
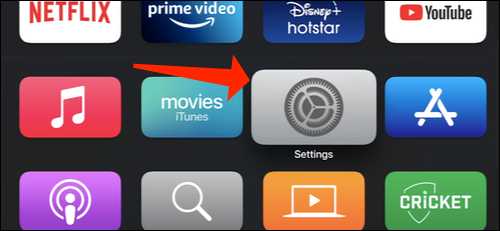
Step1: Once you’ve determined the correct display resolution, open the “Settings” app on your Apple TV.
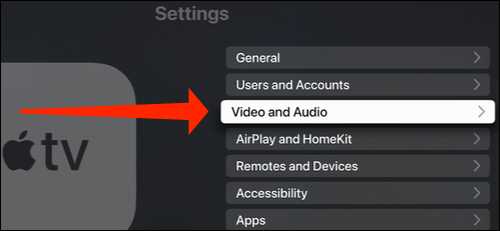
Step2: Then select “Video and audio”.
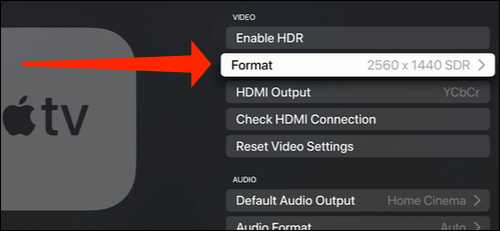
Step3: Navigate to the “Format” option.
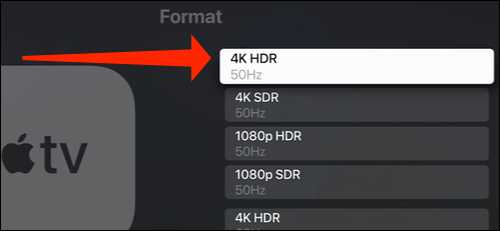
Step4: This page shows some standard display resolutions like 4K HDR 50Hz, 1080p SDR 60Hz, etc. Here you can select your screen resolution.
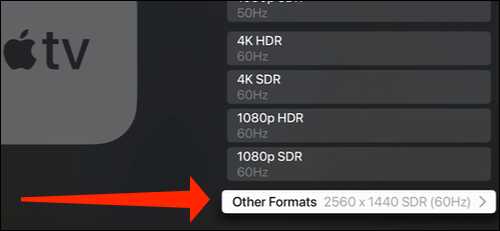
Step5: The only problem is that these are not exact values and may not match the recommended resolution for your screen. To get it, scroll down and select “Other formats”.
Step6: This is where you will see exact display resolution values such as 2560 × 1080 HDR 60Hz, as well as other resolutions not mentioned on the previous screen. Select the correct display resolution here.
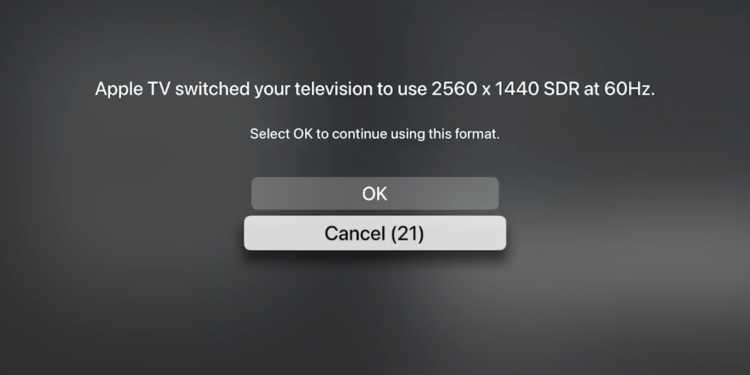
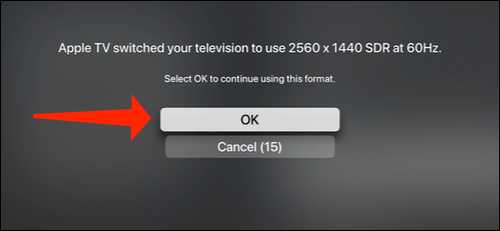
Step7: If Apple TV manages to switch to the correct resolution, it will display a message stating that it has successfully changed the resolution. Choose “OK“.
That’s all you need to do here. If switching to a different resolution fails, you might see a black screen for several seconds and your screen might even turn off on its own. Press the Menu button on your Apple TV remote to revert to the original resolution, then you can try changing it to a compatible resolution again.